Repiping 101: Signs, Benefits and Step‑by‑Step Process
Learn signs you need whole repiping, costs, benefits, and the step‑by‑step process. Book an estimate with Rapid Rescue Rooter today.
Subscribe to our weekly newsletter
Repiping 101: Signs, Benefits and Step‑by‑Step Process
Table of Contents
Section 2: Do You Need It? Signs Your Home May Require Repiping
Section 3: Benefits of Whole‑House Repiping
Section 4: Repiping Process Explained
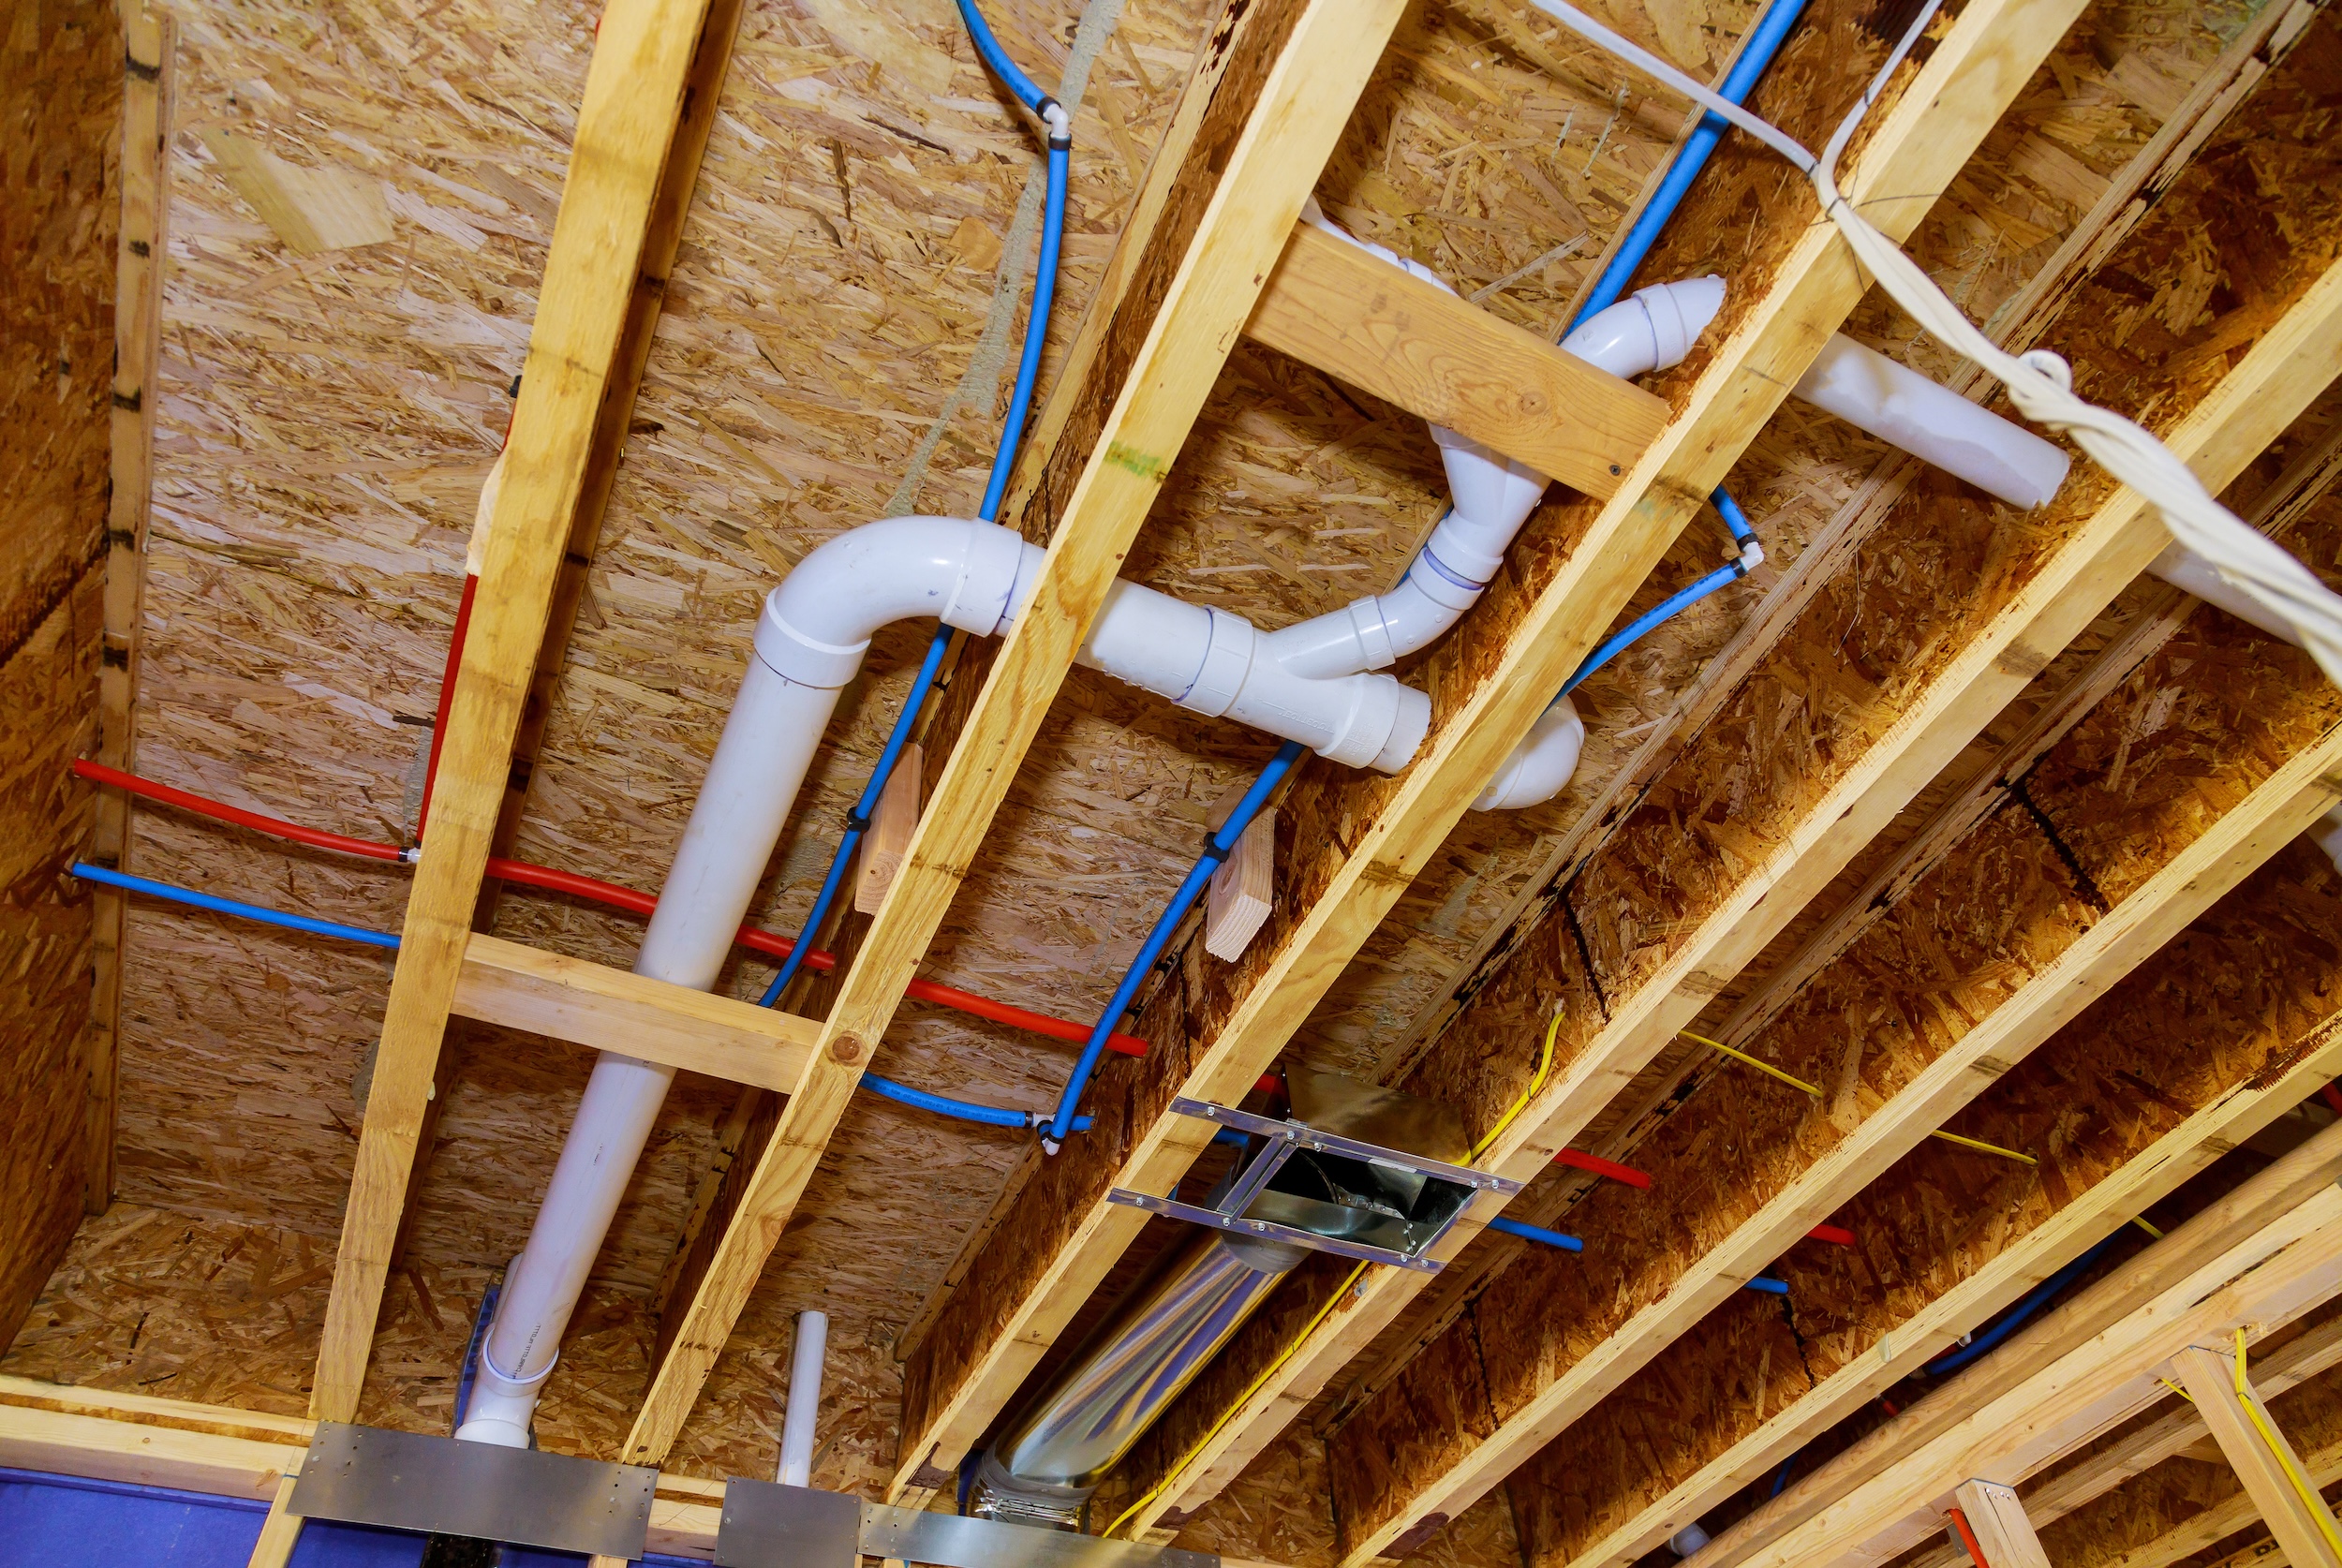
What Is Repiping?
Picture your home’s plumbing as a network of veins and arteries: when those lines become clogged, corroded, or too fragile to function, the entire “circulatory system” suffers. Repiping is the comprehensive replacement of those aging water‑supply pipes—typically copper, galvanized steel, CPVC, or even outdated polybutylene—with a modern material such as PEX or new copper. Unlike a spot repair that fixes a single leak, repiping swaps out every compromised line in one coordinated project, giving the plumbing system a fresh start.*
Homes built before the 1970s are especially prone to trouble because galvanized steel pipes—once the industry standard—rust from the inside out. Mineral buildup narrows the pipe’s interior, while corrosion leaches iron into the water, turning it brown, metallic‑tasting, and potentially unsafe. Even newer properties can face early pipe failure if they’ve endured high water pressure, chemical drain cleaners, or aggressive local water chemistry. When multiple leaks, sudden pressure drops, or discolored water become the norm, a whole‑house repipe is often the most cost‑effective, long‑term fix.
Modern repiping not only restores reliable flow and clean‑tasting water; it also lays the groundwork for future upgrades—like tankless water heaters or filtration systems—because the fresh pipes meet today’s building codes and pressures. By understanding what repiping entails and why certain homes are more vulnerable, you’re better prepared to decide whether a proactive overhaul beats another temporary patch. In the next section, we’ll dive into the telltale signs that signal it’s time to make that choice.
Do You Need It? Signs Your Home May Require Repiping
Even a single pinhole leak can hint at deeper trouble, but a pattern of issues is your plumbing’s SOS. Watch for these red flags:
- Frequent leaks – More than one pipe failure in a 12‑month span usually points to systemic corrosion, not bad luck.
- Low or fluctuating water pressure – Narrowed pipe interiors from rust or mineral scale restrict flow.
- Brown, yellow, or rusty water – Discoloration after the tap runs for a few seconds means iron is leaching from galvanized or corroded steel lines.
- Metallic or sulfur‑like taste/odor – Corroding pipes and bacterial buildup release unpleasant compounds.
- Unexplained spikes in water bills – Hidden leaks can waste hundreds of gallons a month.
- Pipes older than 40 years – Galvanized steel and early copper formulations often hit end‑of‑life around this mark.
- Visible corrosion on exposed pipes – Greenish copper stains or reddish flaking steel signal interior decay.
- Banging or “water‑hammer” noises – Failing pressure‑balance and air‑cushioning in old lines amplify pipe movement.
Quick‑Decision Matrix
Rule of thumb: If you tick two or more High/Urgent boxes, a whole‑house repipe is often more economical—and less stressful—than chasing recurring repairs.
Addressing these warning signs promptly prevents ceiling damage, mold growth, and sky‑high emergency‑plumber fees. In the next section, we’ll explore the long‑term benefits homeowners gain once they commit to a full repipe.
Benefits of Whole‑House Repiping
Replacing every aging line in one coordinated project may sound disruptive—but the upside can be dramatic and immediate:
Hidden bonus: Modern PEX and Type L copper both resist mineral buildup, meaning your new system can maintain performance for decades with minimal maintenance—often 50–70 years for copper and 80‑plus for PEX under normal conditions.
Taken together, these gains turn repiping from a reactive fix into a strategic upgrade that protects both your family’s comfort and your home’s equity. With the “why” now clear, let’s demystify how the repiping process actually unfolds—and how to keep daily life running smoothly while the work is underway.
Repiping Process Explained
Whole‑house repiping is a carefully sequenced project that trades short‑term disruption for decades of worry‑free plumbing. Below is a typical workflow—and what you can do to keep life running smoothly while the crew works.
Hold onto permits and warranty docs for resale value.
Timeline snapshot: A standard single‑story, 2‑bath home often takes 5–7 business days from first cut to final paint; multi‑story or complex layouts can stretch to two weeks.
Minimizing Day‑to‑Day Disruption
- Phase in water shut‑offs: Crews can often keep cold water running in one bathroom overnight. Ask for a staged shut‑off schedule.
- Portable solutions: Renting a small utility sink or using disposable dishware cuts kitchen downtime.
- Dust containment: Request zipper doorways and negative‑air scrubbers if anyone in the household has asthma or allergies.
- Stay‑in vs. move‑out: Many families remain in the home; however, if you work remote or have toddlers, a short‑term hotel or relative’s house during the messiest demo day may be worth the cost.
A transparent contractor will communicate daily goals, keep pathways tidy, and provide status updates—so you’re never left wondering what’s next. Speaking of questions, the next section tackles the FAQs homeowners most often ask before, during, and after a repipe.
FAQs
If you don’t see your concern answered here, reach out for a free, no‑pressure assessment—details in the conclusion.
Is a partial repipe ever enough, or should I replace the whole system?
- Partial repipe: Works when damage is isolated—e.g., a single branch line ruined by a slab leak—and the remaining network is modern copper or PEX in good condition.
- Whole‑house repipe: Recommended if pipes are uniformly galvanized steel, polybutylene, or mixed‑metal “Franken‑plumbing,” or when multiple leaks crop up in a year. A full swap costs more up front but prevents serial wall‑openings and repeated drywall repairs.
Can I DIY a repipe to save money?
Technically possible for seasoned renovators on a small, single‑story home—but rarely cost‑effective. Professional crews finish in days, pull permits, pressure‑test to code, and warranty the work. DIYers often discover hidden branch lines, misjudge pipe sizing, or fail inspections, leading to re‑do costs that erase any savings.
How long will my water be shut off?
Typically 6–8 hours on the main demo day, then shorter 1‑ to 2‑hour shut‑offs for testing. Reputable contractors stage work so at least one bathroom has evening service.
What’s the overall timeline?
- Average single‑story, 2‑bath home: 5–7 working days
- Two‑story or complex layout: 7–10 days
- Large or multi‑unit property: 2 weeks + (due to longer inspection windows) Permit scheduling and drywall cure times, not pipe installation, are usually the pacing items.
Does repiping come with a warranty?
Yes. Most contractors offer 1–2 years on labor, while major pipe manufacturers back materials for 25‑50 years (PEX) or 50+ years (Type L copper). Request written copies and note whether drywall repairs are included.
Will my insurance or a loan cover the cost?
- Homeowners insurance: Rarely covers proactive repiping, but may pay to fix sudden leak damage discovered before the repipe.
- Financing: Many plumbing companies partner with lenders for 0 % promotional APR or low‑interest monthly plans.
- Tax incentives: Energy‑efficiency credits generally don’t apply, but repiping can boost appraisal value.
Do I need a permit?
Almost always. Local codes treat supply‑line replacements as major work. Licensed contractors handle the paperwork and schedule inspections—skipping this step can void insurance and stall a future sale.
How do I live in the house during the project?
Set aside one “water station” with bottled water and disposable dishware, plan showers around shut‑off windows, and keep a simple microwave/slow‑cooker setup for meals. Clear walkthroughs nightly so you’re not navigating tools in the dark.
What maintenance is required after repiping?
Just the basics: check visible pipes annually for drips, drain and flush your water heater per manufacturer guidelines, and test pressure once a year. No special treatments or additives are needed with PEX or new copper.
Still have questions? Keep reading—our conclusion explains how a no‑cost, in‑home estimate can put exact numbers and timelines to your situation.
Conclusion & Next Steps
Old, corroded pipes rarely fail on a convenient schedule—small leaks escalate into ceiling stains, water‑heater strain, and mold remediation bills that dwarf the cost of a planned repipe. By acting before the next emergency call, you lock in predictable pricing, preserve your home’s finishes, and enjoy clear, steady water for decades.
If the warning signs we covered match what you’re seeing—or if you simply want peace of mind—book a free in‑home repipe assessment with Rapid Rescue Rooter & Plumbing. Our licensed technicians will:
- Inspect your current plumbing with pressure and corrosion tests
- Map the most efficient repipe layout and material choice for your budget
- Deliver a written, fixed‑price quote (no surprise add‑ons)
- Outline financing options and a day‑by‑day project schedule
It takes less than a minute: visit RapidRescueSvc.com and click “Booking” or “Schedule Free Estimate.” We’ll confirm your slot, handle permits, and guide you from first shut‑off to final coat of paint—so your plumbing works as beautifully as the rest of your home.
Protect your home, wallet, and sanity—schedule your free estimate today.